
Friends, I like cake. I mean, I really like cake. My husband will tell you I’m a cake connoisseur and that I try nearly every cake at weddings we photograph. My favorite part of planning my own wedding? Picking a cake. I mean, duh.
With my daughter and my husband celebrating back-to-back birthdays this month, I figured I should probably do a trial run of their birthday cakes, just to make sure I was happy with the results. Any excuse, right?
First things first, I gathered some supplies. I love making cakes, but for some reason I’ve never bought cake decorating tools. I finally bit the bullet and purchased some cake decorating tips, along with decorating bags. I also found a small set of 4-inch cake pans that was perfect for a mini cake. All of the tools made my life so much easier, and made the decorating so fun. Totally worth it.
I baked the cakes plus a few cupcakes for practicing my frosting technique. First things first, here’s a look at what some of the decorating tips produce.
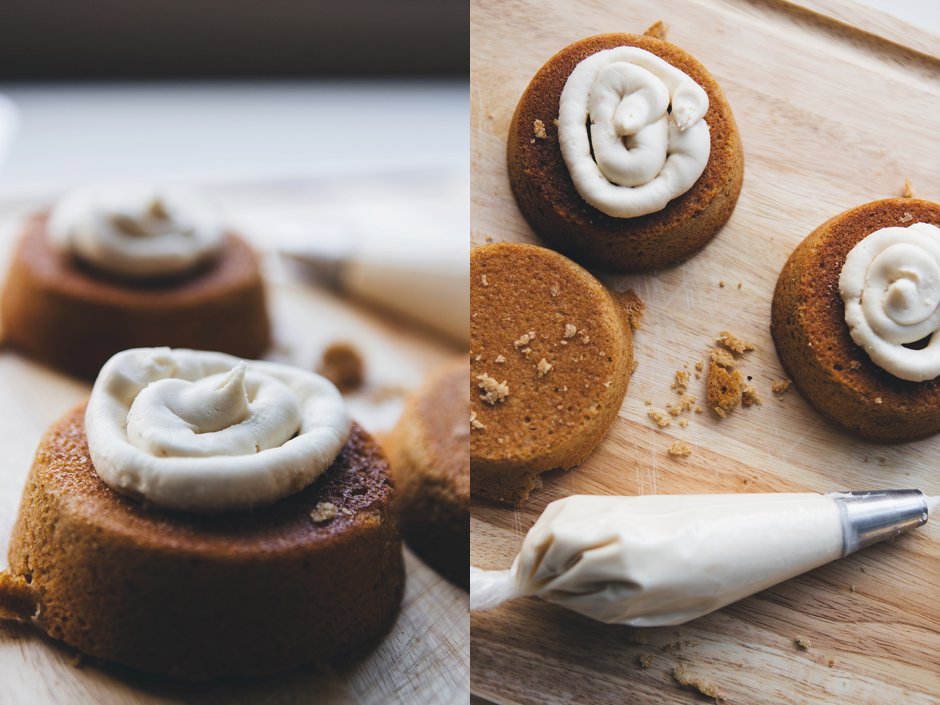
1A: This tip is a large circle, perfect for piping dreamy pillows of frosting. Center your piping bag over your cupcake, perpendicular to the table, and apply gentle pressure so icing flows out. The trick to getting the rippled effect is to pipe your first dot of icing, then, keeping consistent pressure, lift the tip a little to pipe another dot on top. You can also create swirls with this. Below you’ll see that I used this tip to fill my cake layers.

1M: The 1M tip looks like a large star, and it’s great for swirly, texturized piping. To make a rose, start by piping at the center of your cupcake and swirling around the center, building out. Another option is to start at the outside and swirl in, building a little mountain of frosting. This technique seems to add more frosting, but it looks pretty darn cute. I use the 1M decorating tip to frost my cake, as you’ll see below.
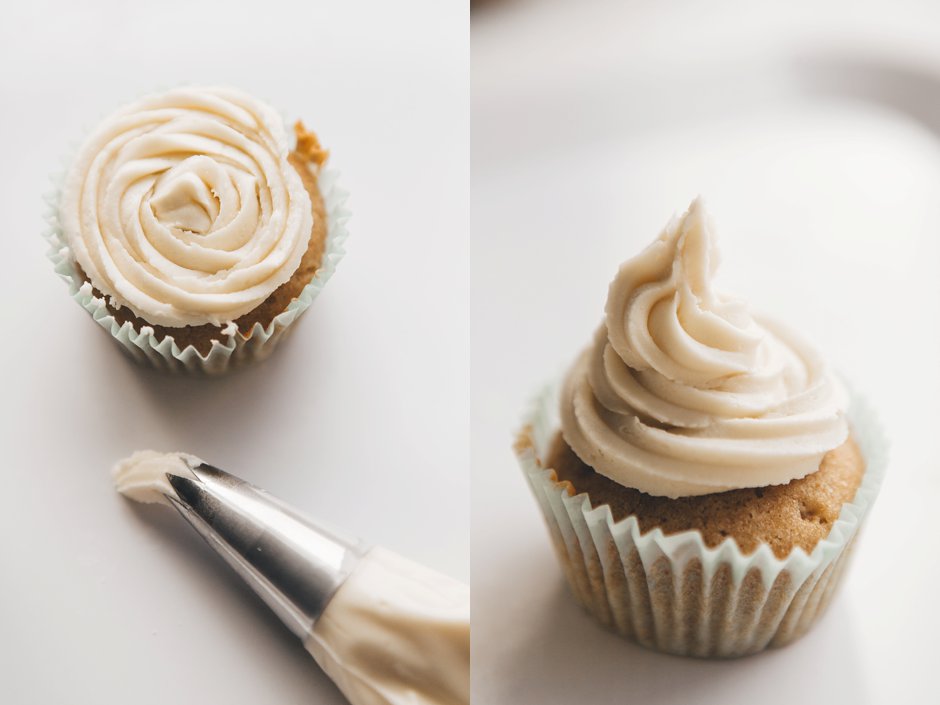
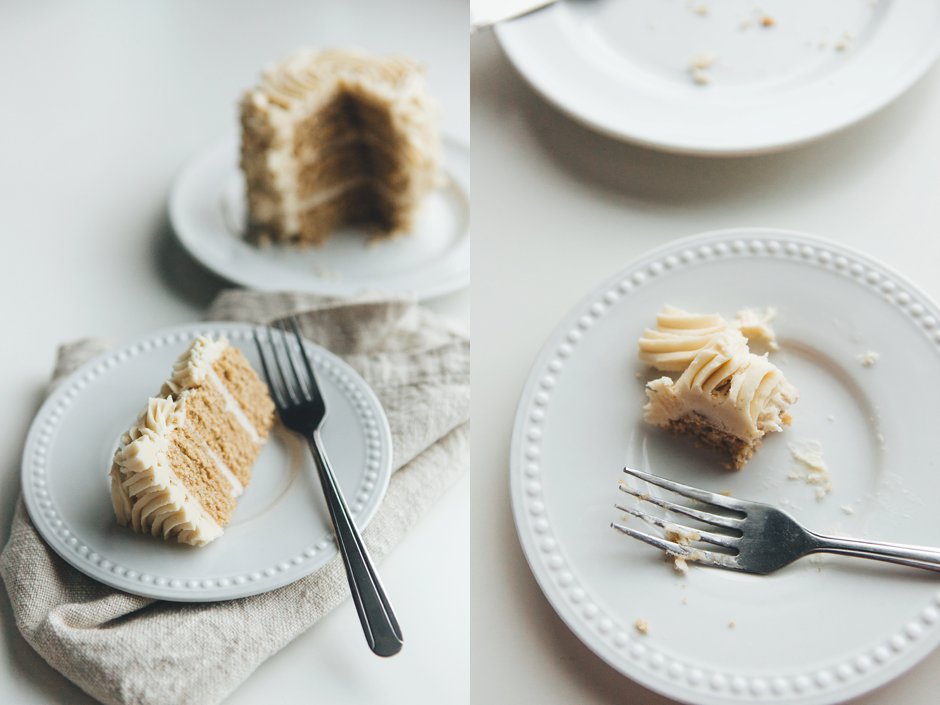
A few more shots, because look at all the prettiness! It’s a ton of fun to play with frosting, and you get to eat the results.

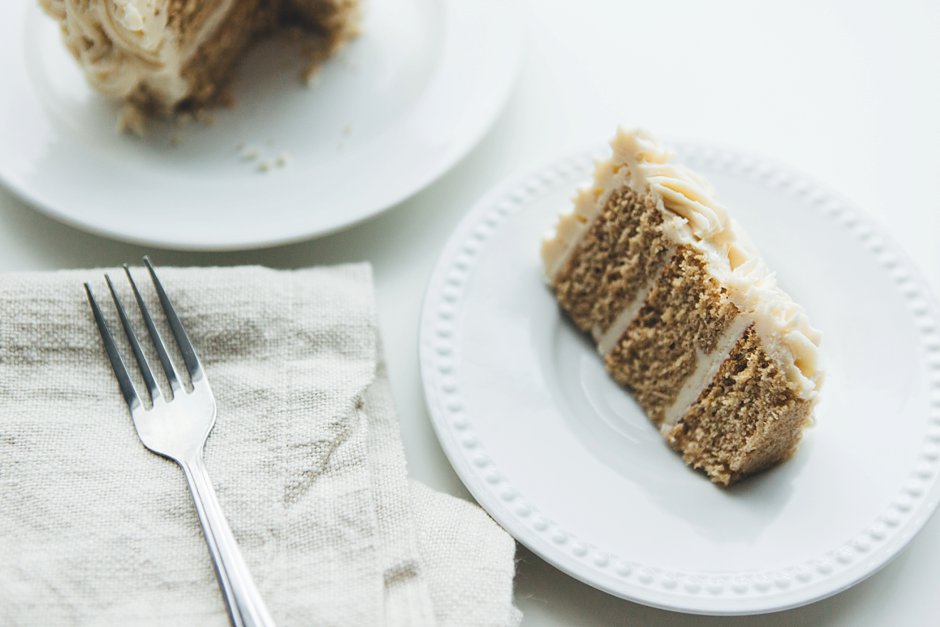
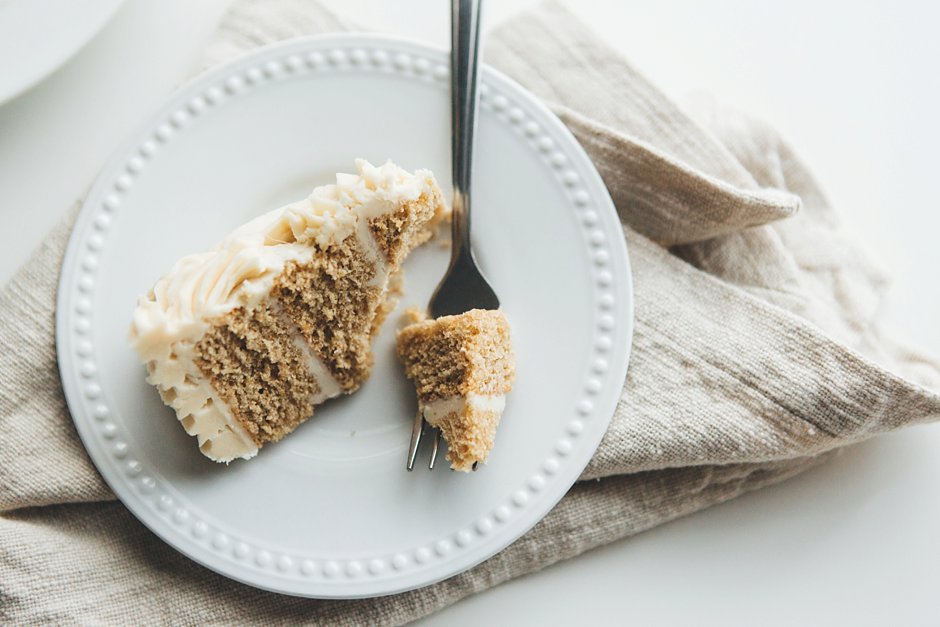
Ok, onto the cake! I used I Am Baker’s Rose Cake Tutorial as a starting point, since this was my first time using decorating tips. From certain angles my cake looks more like owl eyes than roses, but you know. You win some, you lose some. I still love how this turned out, for my first try. Practice makes perfect, yes?
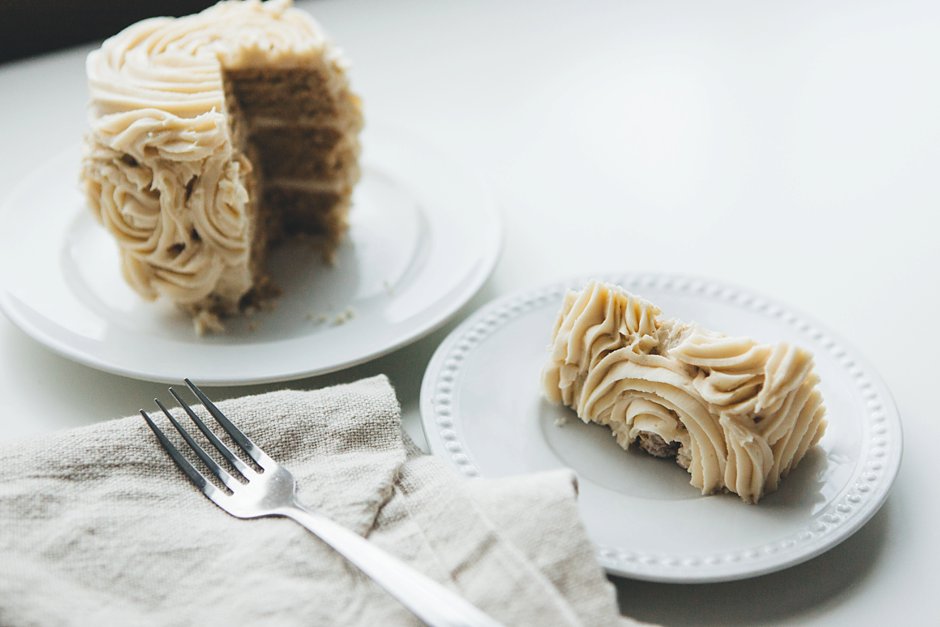
DIY: Mini Rose Cake
You will need:- 4-inch cake pans (3)
- Offset spatula
- 1A and 1M decorating tips
- Piping bag
- Cake batter of your choice
- Buttercream frosting
Directions:
- Preheat your oven according to cake batter directions. Grease your cake pans, then fill with batter. As you can see, I over-filled my pans, leading to a domed top on the cakes. I baked my cakes for about 22 minutes at 350 degrees.
- Cool your cakes on a cooling rack for 10 minutes, then remove cakes from pans.
- While the cakes are cooling, cut off the tip of your piping bag, then insert your 1A piping tip. Fill with a small amount of buttercream frosting.
- When cakes are cool to the touch, use your offset spatula to level your cakes. I kept the domed tops for extra decorating practice. And eating, of course.
- Pipe buttercream onto two of the cake layers, then use your offset spatula to spread this out.
- Stack your cakes so the frosting is sandwiched in between the cake layers. Then, using your offset spatula, smooth out the sides of your cakes. As you can see, my pans didn’t create perfectly shaped cakes, so I had to do a little carving. Again, more for snacking. I mean, flavor-testing.
- Put that puppy in the freezer for a few minutes. Then, using your piping bag and your offset spatula, add on a crumb coat layer of frosting. I admit, I am terrible at crumb coats. They are the bane of my existence. Maybe you will do better than me. The point of them is to seal in the crumbs, so you have a smooth base for decorating. In this case, since I was going to add on a large amount of frosting, a very rough crumb coat did the trick. Back into the freezer for that cake!
- While the cake is chilling, switch to your 1M decorating tip. Depending on your decorating set, you may need to transfer the tip to a fresh pastry bag. Fill the bag with the rest of the frosting.
- After the cake has chilled for 10 to 15 minutes, pull it out of the freezer and get to work! Starting with the sides, pipe roses using the technique above. I used one rose to fill the side of the cake. Pipe roses next to each other, filling the cake. Pipe a large rose on the top of the cake, covering the surface. Finally, add in little swirls to fill any holes in between roses.
- Chill the cake in the fridge until serving. When ready to serve, use a hot, dry knife to cut the cake.



Tips:
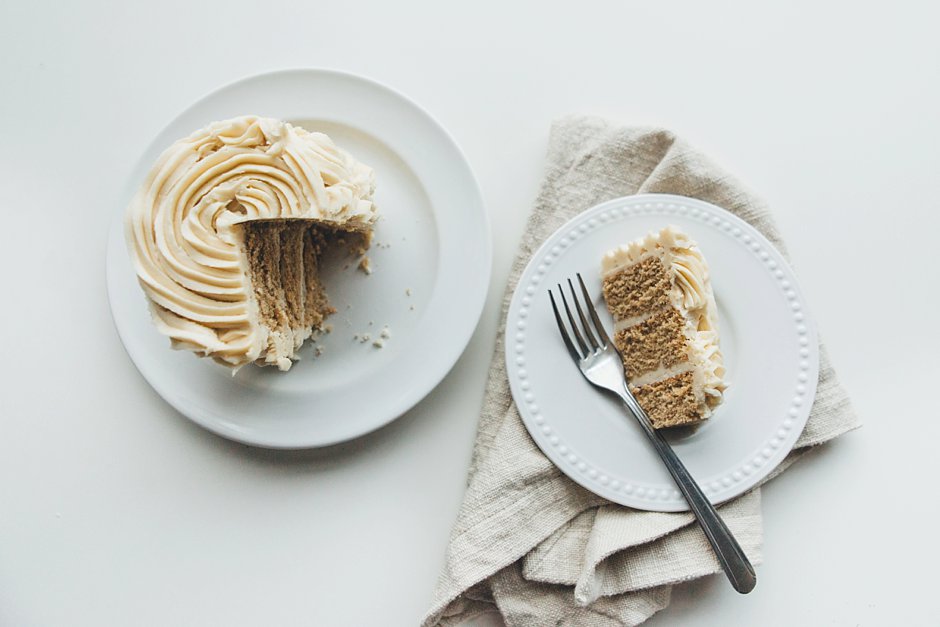
- This cake has a very high frosting to cake ratio. Be prepared.
- For best decorating results, use room-temperature buttercream and a cold cake.
- Squeeze your piping bag from the top, twisting the unused portion as you go.




No Comments