

For the last two days I’ve been making excuses to leave my house, all so I can come back and see this pretty wreath up on the front door. Walk the dog? Sure. Take out the trash? You bet.
The good news is this greenery wreath is easy to make and it brings a whole lot of pretty. I wanted to add some color and liveliness to my house, and this project fits the bill. I chose some simple greenery that (I hope) will dry well, and that can be spruced up with some additional colors and flowers as the holidays approach. The key is to pick flowers and greens with varying textures in order to add interest and movement to your wreath. I mean, the seeded eucalyptus? The spiky thistle? They’re just… love. Feel free to pick your favorite stems and in an hour or so you, too, can have a simple handmade wreath to decorate your home.


DIY: Greenery Wreath
You Will Need:
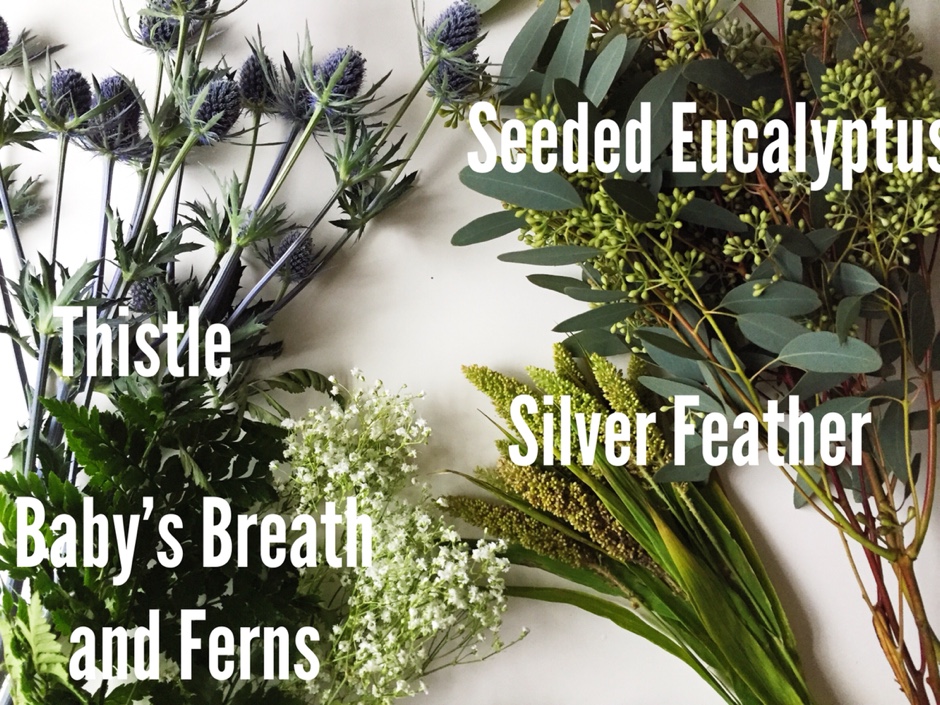
- A few bunches of your favorite flowers or greenery. Try to add a few plants with flexible stems. I used: Eucalyptus, Thistle, Silver Feathers, Baby’s Breath, and Ferns. Select some colors that will compliment the location you will hang the wreath. For example, I love the way the silver-green and purple highlight my blue front door.
- Fine gauge floral wire (I used picture-hanging wire, because that’s what I had handy, but the green floral wire will blend in better)
- A thicker-gauge floral wire
- Scissors
- Twine
Directions:
- Cut a few 1 to 2-inch lengths of your fine-gauge wire, and a few 2 to 3-inch lengths.
- Gather small bunches of flowers and greens in your non-dominant hand and arrange to your liking. Then, using your dominant hand, wrap the bundles with wire.
- Once you have created a few bunches of flowers, arrange them in the shape of your wreath. Play around until you have a grouping you like, keeping in mind that you don’t need to have a symmetrical look.
- Wire your bundles together in a chain. Start by laying one bunch over top of the next, covering the wire on the first bunch with the flowers of the second bunch. You want all the bundles to point in the same direction. When all the flowers are wired together, connect the two ends of the chain, forming a wreath.
- Shape your thicker-gauge floral wire into a circle the same size as your wreath. Flip your wreath face-down and then attach this shape to the back of your wreath to provide extra stability.
- Tie a loop of twine onto your wreath at the top.
- Hang your wreath on your windows, walls, or front door. I used a suction cup to stick the wreath to my front door, but you can use command hooks as well.


3 Comments
oh I LOVE this! so pretty!!
Thanks Jaana! I’m a little obsessed. 🙂
[…] numerous tutorials on how to DIY yourself real green wreath or Christmas […]